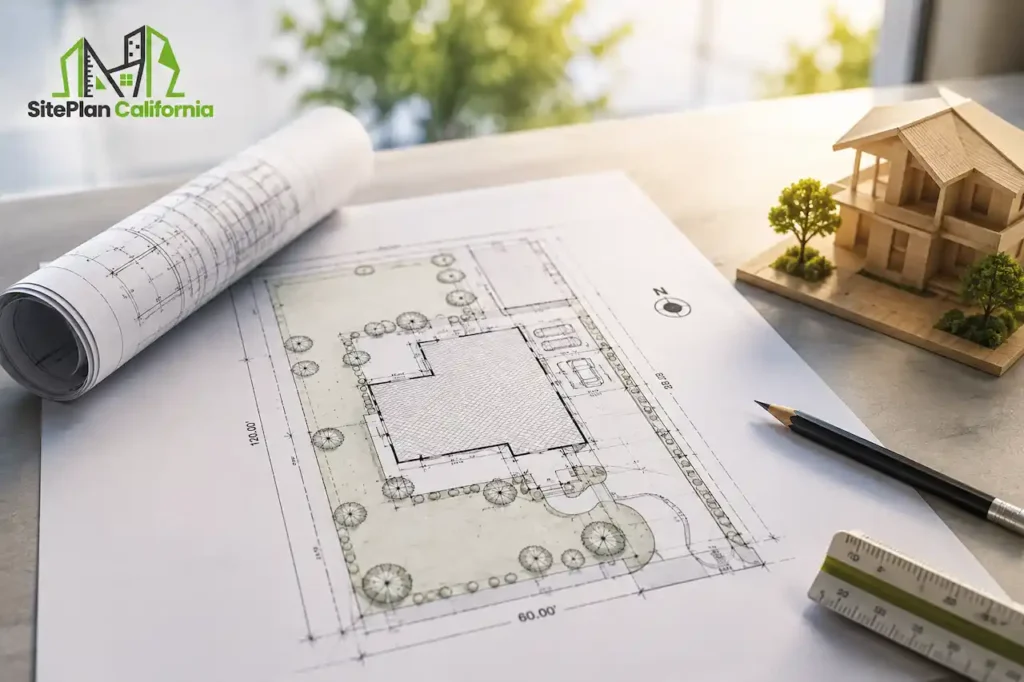
How to Prepare a Site Plan: Preparing a site plan is an important step when applying for a building permit in California. The drawing gives the permitting department a clear picture of the property, existing conditions, and proposed construction.
A site plan for building permit California projects is not simply a sketch showing where a new structure will be placed. Depending on the project and local jurisdiction, it may need to show property lines, dimensions, setbacks, easements, streets, access, utilities, parking, existing structures, proposed improvements, and other site information.
California does not use one identical site plan checklist for every city and county. Local agencies establish their own submittal requirements, and the amount of information needed can vary based on the project. Current guidance from California jurisdictions shows significant differences in required details and drawing formats.
That means the best way to prepare a site plan is to start with the requirements for the specific property and project.
Step 1: Identify the Project and Permit Requirements
Before drawing the site plan, determine what you are planning to build or change. This could be a new home, addition, ADU, detached garage, pool, patio, deck, commercial improvement, or another exterior project.
The project type determines what information may need to be included. First, identify the city or county reviewing the application and check its current planning and building requirements.
For example, San Diego’s current site plan guidance outlines information such as property lines, structures, easements, public rights-of-way, dimensions, and proposed work.
Avoid relying on a generic site plan template. Start with the specific requirements and checklist provided by your local jurisdiction.
Step 2: Gather Property Information
Once you understand the project requirements, gather the information needed to accurately show the property. This may include the property address, APN, lot dimensions, existing structures, survey information, easements, utilities, zoning details, previous plans, and site measurements.
A survey or reliable property documentation is especially important when accurate property boundaries or existing conditions need to be shown. Avoid estimating property lines from satellite images or visible features, as accuracy requirements vary by project and jurisdiction.
It is also important to check for recorded easements. For example, San Diego’s guidance recommends obtaining a title report before site design so relevant easements can be identified during the review process.
Step 3: Establish the Property Boundaries
Start the drawing by establishing the property boundaries.
Show:
- All property lines
- Lot dimensions
- Adjacent streets
- Relevant rights-of-way
- Easements
- Other boundary information required by the jurisdiction
The property boundary becomes the reference for positioning the existing and proposed structures. Contra Costa County, for example, requires residential site plans to show the entire property, all property lines, a north arrow, setbacks, adjacent streets or roads, and easements. If the property has an irregular shape, make sure every relevant boundary is represented rather than simplifying it into a rectangle.
Step 4: Show Existing Structures and Site Features
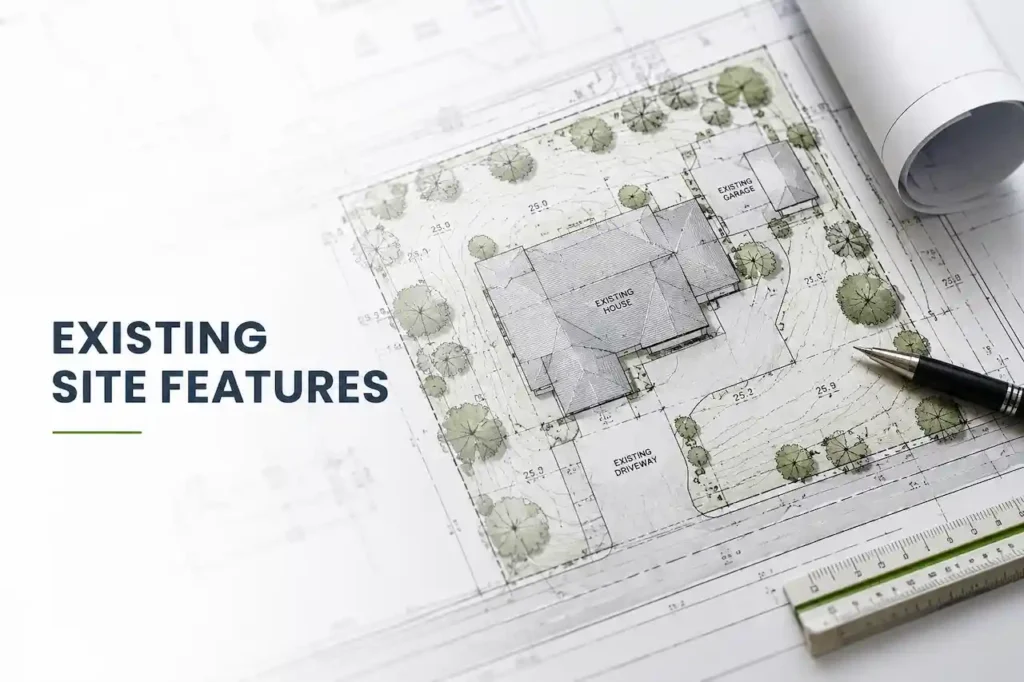
Next, document the existing structures and important features on the property. Depending on the project, this may include the main house, garage, ADU, sheds, pools, patios, decks, retaining walls, fences, driveways, walkways, trees, and utility equipment.
Show these features in their correct locations and label them clearly. This helps the reviewer understand the existing site and evaluate how the proposed work will affect it.
For example, if an existing garage is close to a side property line, the location of a proposed addition may need to be shown in relation to both the garage and the property boundary.
Step 5: Add the Proposed Improvements
Once existing conditions are established, add the proposed construction. Clearly identify what is:
- New
- Existing
- Being removed
- Being modified
The proposed footprint should be dimensioned and positioned relative to the property lines and relevant existing structures. San Diego’s current site plan guidance calls for dimensions of existing and proposed buildings and structures, including dimensions to property lines and between structures. Clear distinctions between existing and proposed conditions make the drawing much easier to review.
Step 6: Show Setbacks and Required Dimensions
Setbacks are one of the most important parts of the site plan. Show the distance between proposed construction and the applicable property lines. Depending on the project, dimensions may also be needed between existing and proposed structures. Typical measurements can include:
- Front setback
- Rear setback
- Side setbacks
- Distance between buildings
- Building dimensions
- Addition dimensions
- Driveway dimensions
- Parking dimensions
Do not rely on the visual scale of the drawing to communicate these distances. Label the measurements directly. Local requirements determine which setbacks apply. A site plan should communicate the proposed dimensions clearly enough for the reviewer to evaluate the project against the applicable requirements.
Step 7: Add Streets, Access, and Rights-of-Way
Show how the property connects to the surrounding public or private access network.
Depending on the project, include:
- Street names
- Adjacent roads
- Alleys
- Rights-of-way
- Driveways
- Curb cuts
- Sidewalks
- Pedestrian access
- Site entrances
These features can become particularly important for new construction and projects that change vehicle or pedestrian circulation. San Diego requires public right-of-way dimensions and existing and proposed public improvements such as curbs, sidewalks, pedestrian ramps, and driveways when applicable.
Step 8: Identify Easements and Utilities
Before finalizing the site plan, check for recorded easements and existing utility features that could affect the proposed construction. Easements may involve utilities, drainage, access, roads, or public rights-of-way.
Depending on the project, the plan may also need to show water, sewer, gas, electrical, septic systems, and utility equipment.
The level of detail depends on the project and local requirements, but these features should not be overlooked. An easement or utility location can limit where new construction can be placed. San Diego’s guidance also notes that failing to identify recorded easements can lead to additional review, fees, construction changes, and processing delays.
Step 9: Add Parking and Site Circulation
If parking is relevant to the project, show the required parking areas and vehicle circulation.
This can include:
- Existing parking
- Proposed parking
- Parking dimensions
- Drive aisles
- Driveways
- Loading areas
- Accessible parking where applicable
Commercial projects often require more detailed parking and circulation information than simple residential improvements. Placer County’s commercial plan requirements, for example, call for proposed driveway and parking stall locations along with other site information such as utilities, easements, drainage, and accessibility.
Step 10: Include the North Arrow and Drawing Scale
Include a clear north arrow and an appropriate drawing scale on the site plan. The north arrow shows the property’s orientation, while the scale helps the reviewer understand the relationship between the drawing and the actual site dimensions.
Scale requirements can vary by jurisdiction and project. For example, El Dorado County allows conventional scales such as 1 inch = 10 feet or 1 inch = 20 feet for certain site or plot plans, while larger properties may use a reduced scale under specific conditions.
Always follow the current requirements of the local permitting agency rather than using the same scale for every project.
Step 11: Add Grading and Drainage Information When Required
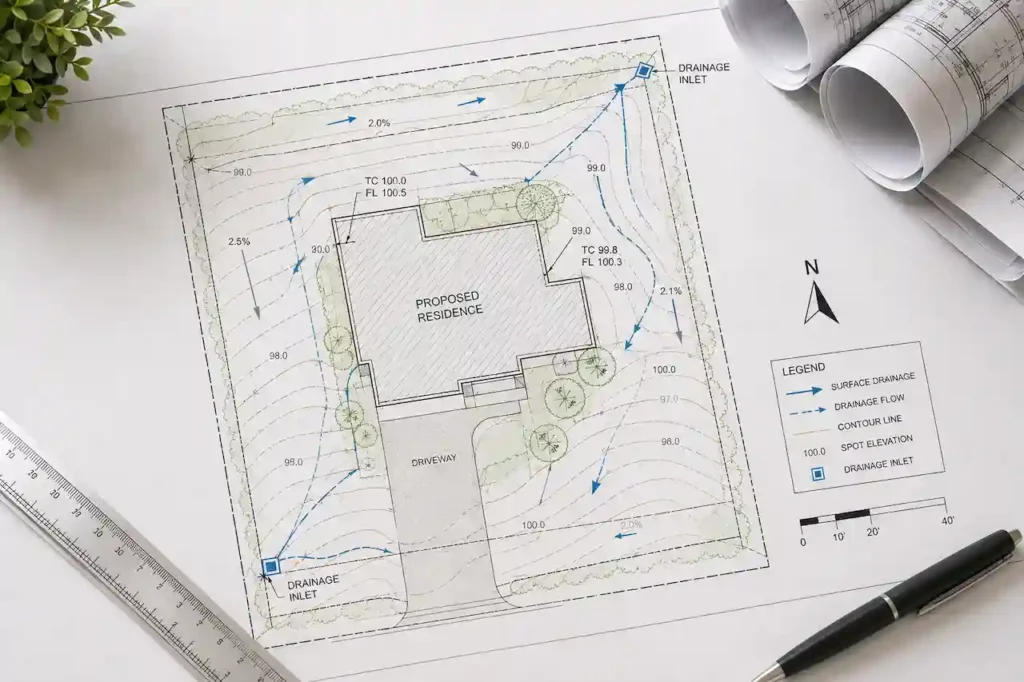
Some projects need more than a basic site layout. If the project changes grades, drainage patterns, slopes, or retaining walls, additional information may be necessary. This can include:
- Existing contours
- Proposed contours
- Finished floor elevations
- Site elevations
- Drainage flow
- Drainage systems
- Retaining walls
- Slopes
Placer County’s current commercial requirements, for example, identify earth contours, drainage flow, finish floor elevation, and drainage-related information as part of the site plan requirements for applicable projects. If engineering or a separate grading and drainage plan is required, coordinate the site plan with those documents rather than treating them as unrelated drawings.
Step 12: Review the Drawing Against the Local Checklist
Before submitting the application, compare the completed site plan with the local jurisdiction’s current checklist. Make sure all required information is included, such as property lines, dimensions, existing and proposed structures, setbacks, easements, access, parking, utilities, north arrow, scale, and any applicable grading or drainage details.
Also check that the information matches the rest of the plan set. For example, the location and dimensions of a proposed addition should be consistent with the architectural drawings. Resolving these inconsistencies before submission can help prevent unnecessary questions, revisions, and delays during permit review.
Step 13: Check Plan Quality and Readability
A technically complete drawing can still be difficult to review if it is poorly organized.
Before submission, check for:
- Overlapping dimensions
- Unreadable labels
- Missing measurements
- Incorrect scale
- Confusing linework
- Unclear existing versus proposed conditions
- Inconsistent dimensions
- Missing north arrow
- Missing project information
The plan should be easy for someone unfamiliar with the property to understand. This is especially important when submitting digital plans. San Diego requires digital plans and documents to meet specific formatting requirements and notes that failure to meet those requirements can delay plan and document approval.
Step 14: Prepare the Final Permit Submission
Once the site plan has been reviewed internally, prepare it in the format required by the permitting agency. Depending on the jurisdiction, this can involve:
- Required sheet size
- PDF format
- File naming
- Plan sheet numbering
- Digital signatures or stamps where required
- Supporting documents
- Application forms
- Additional architectural or engineering plans
Do not assume that completing the site plan means the entire permit package is ready. A building permit may require architectural, structural, energy, mechanical, electrical, plumbing, grading, or other documents depending on the project. Contra Costa County, for example, notes that a complete residential plan submittal can include architectural, mechanical, electrical, and plumbing drawings in addition to the site plan.
Step 15: Submit and Respond to Plan Review Comments
After submission, the local agency reviews the application. If reviewers identify missing information or issues, they may provide correction comments. Read each comment carefully and determine whether the site plan needs to be revised. Common site plan corrections can involve:
- Missing dimensions
- Setback information
- Easements
- Parking
- Access
- Existing conditions
- Proposed conditions
- Utility information
- Scale or formatting
A correction does not necessarily mean the project cannot be approved. It means the submitted information needs to be clarified or changed before the review can continue. The key is to respond accurately and consistently across the plan set.
Common Mistakes to Avoid
Several common mistakes can make a site plan difficult to review or lead to unnecessary revisions.
Guessing Property Lines: Use reliable property information when accurate boundaries are important. Do not rely on estimates from satellite images or visible features.
Leaving Out Easements: Recorded easements can affect where construction is allowed, so identify them when applicable.
Missing Setback Dimensions: Clearly show the required distances between proposed structures, property lines, and other relevant features.
Using an Incorrect Scale: Follow the scale requirements specified by the local permitting agency.
Mixing Existing and Proposed Conditions: Clearly distinguish existing features from proposed improvements so the reviewer can understand the changes.
Submitting a Generic Plan: The site plan should accurately represent the actual property and proposed project rather than relying on a generic template.
Ignoring Local Requirements: California jurisdictions can have different checklists and procedures. Always prepare the plan according to the requirements of the specific city or county reviewing the application.
When Should You Use Professional Site Plan Drafting?
Preparing a site plan becomes more involved when a property has complex boundaries, multiple structures, easements, slopes, drainage concerns, or other site constraints. Professional drafting can help organize the available property information and turn it into a clear permit drawing.
This can be especially useful for:
- New construction
- ADUs
- Home additions
- Detached structures
- Commercial projects
- Projects with complex site conditions
- Properties requiring detailed site documentation
Professional drafting does not eliminate the need to follow local requirements or obtain licensed professional services when a project requires them. Instead, it helps ensure that the site information is presented clearly and consistently.
Final Thoughts
Preparing a site plan for building permit California projects starts with understanding the requirements of the specific jurisdiction and project.
Gather accurate property information first. Then establish the property boundaries, document existing conditions, add proposed improvements, show setbacks and dimensions, identify access and easements, include parking and utilities when required, and add grading or drainage information when applicable.
Finally, compare the completed drawing against the local submittal checklist before submitting it.
A clear, accurate site plan gives the reviewing department the information it needs to understand the project and can help reduce avoidable corrections during plan review.
If you are preparing a building permit application in California and need help turning your property and project information into a professional site plan, professional drafting can make the process easier to manage.
Frequently Asked Questions
Do I need a site plan for a building permit in California?
Many building projects require a site or plot plan, but the exact requirement depends on the project and local jurisdiction. Confirm the current requirements with the city or county reviewing your permit.
What information do I need before preparing a site plan?
You may need the property address, parcel information, property dimensions, existing structures, easements, utilities, project measurements, zoning information, and other site details relevant to the project.
Can I prepare my own site plan?
Some jurisdictions allow owners or qualified designers to prepare certain plans. However, requirements vary, and some projects may require work from licensed architects, engineers, surveyors, or other professionals.
What scale should a California site plan use?
There is no single scale that applies to every California project. The appropriate scale depends on the jurisdiction, property, and project. Always follow the local agency’s current requirements.
What happens if my site plan is missing information?
The permitting department may issue correction comments or request additional information before continuing the review. Incomplete submissions can delay the permit process.
Does a site plan need to show utilities?
Utilities should be shown when required by the jurisdiction or relevant to the project. The information can include water, sewer, electrical, gas, septic systems, and visible utility equipment.