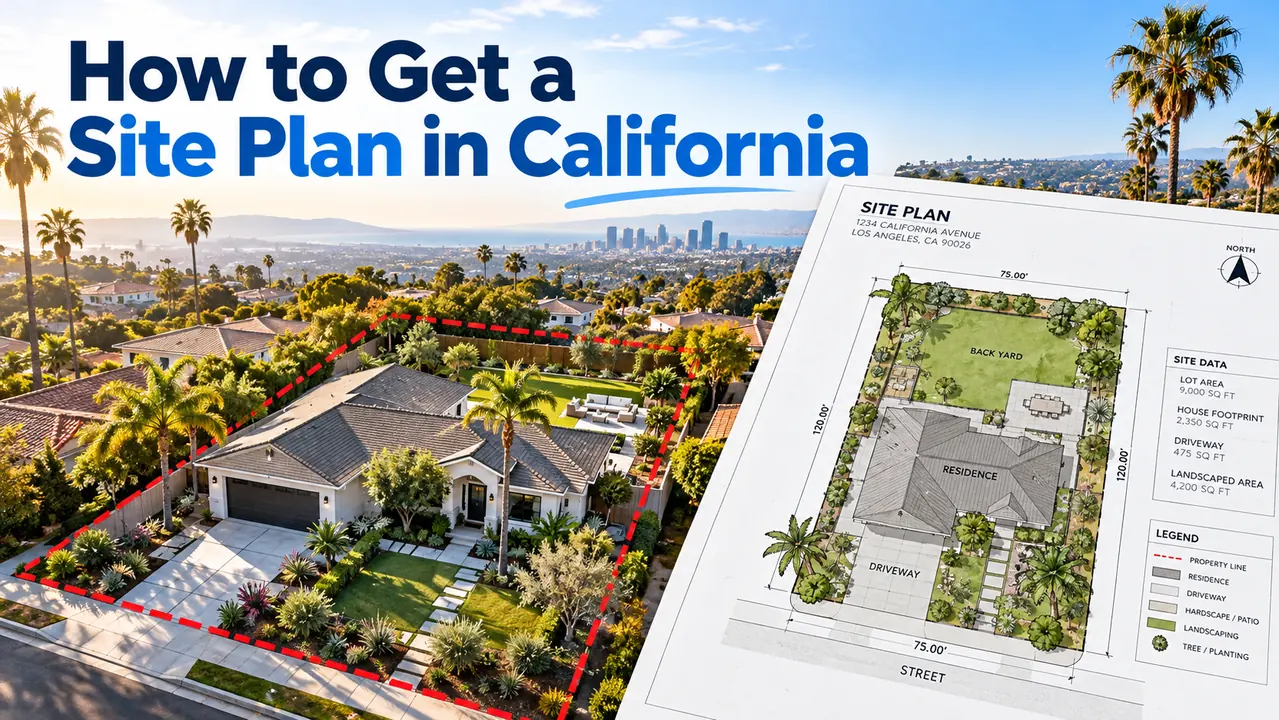
You may be able to draw your own site plan for a California permit, but the answer depends on your project and the reviewing city’s or county’s requirements. A homeowner sketch that adequately locates a small improvement could work for certain limited submittals. A drawing that requires verified boundaries, grading design, structural engineering, or other licensed services is another matter.
A site plan’s job is not to look like a glossy architectural rendering. It needs to communicate accurate information at the scale and level of detail the reviewing agency requires. Here’s how to decide whether a DIY plan is reasonable, how to assemble one, and when not to take shortcuts.
When a DIY plan may make sense
A small, simple project with existing reliable property records and clear local instructions is the strongest DIY candidate. Examples might include locating a basic garden shed or minor improvement where the agency permits an owner-prepared plot plan and does not require a separate professional design package. Check both zoning and building requirements—even an otherwise permit-exempt structure may have placement restrictions.
DIY becomes less sensible when dimensions are disputed, a structure sits close to a setback, the parcel slopes, a retaining wall is involved, or the project includes habitable space, drainage analysis, or complex structural work. You can still participate by preparing a concept sketch, but the final submission may require qualified professionals.
The CSLB permit guidance directs owners to the local building department because city and county requirements vary.
Step 1: Obtain the actual permit checklist
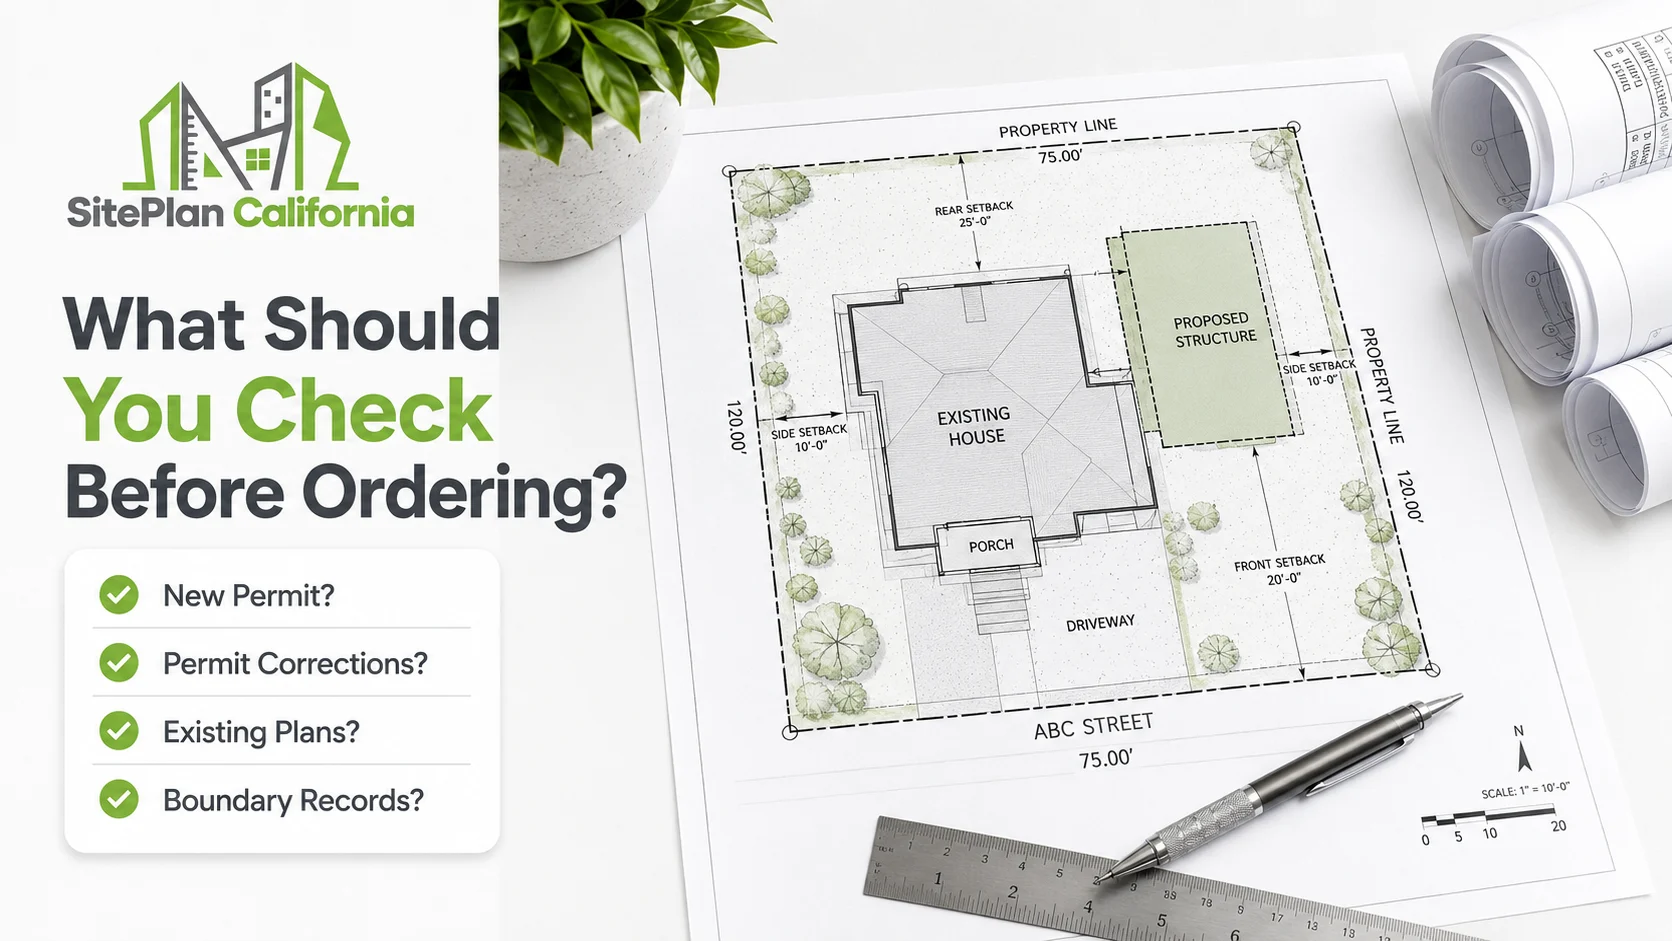
Before opening any drawing program, find the project’s correct jurisdiction and the required site-plan checklist. Look for terms such as “plot plan,” “site plan,” “residential plan submittal,” and “accessory structure.” Confirm whether an existing and proposed plan must be separate, the required scale and sheet size, and whether additional engineering or survey documents are expected.
San Francisco provides a detailed site-permit guide that calls for separate existing and proposed site plans for certain work and prescribes specific sheet information. San Mateo’s building division publishes residential submittal checklists and separate accessory-building guidance. Neither should be copied blindly for a parcel in a different jurisdiction.
Official examples: SF site-permit requirements and San Mateo checklists.
Step 2: Find a reliable property base
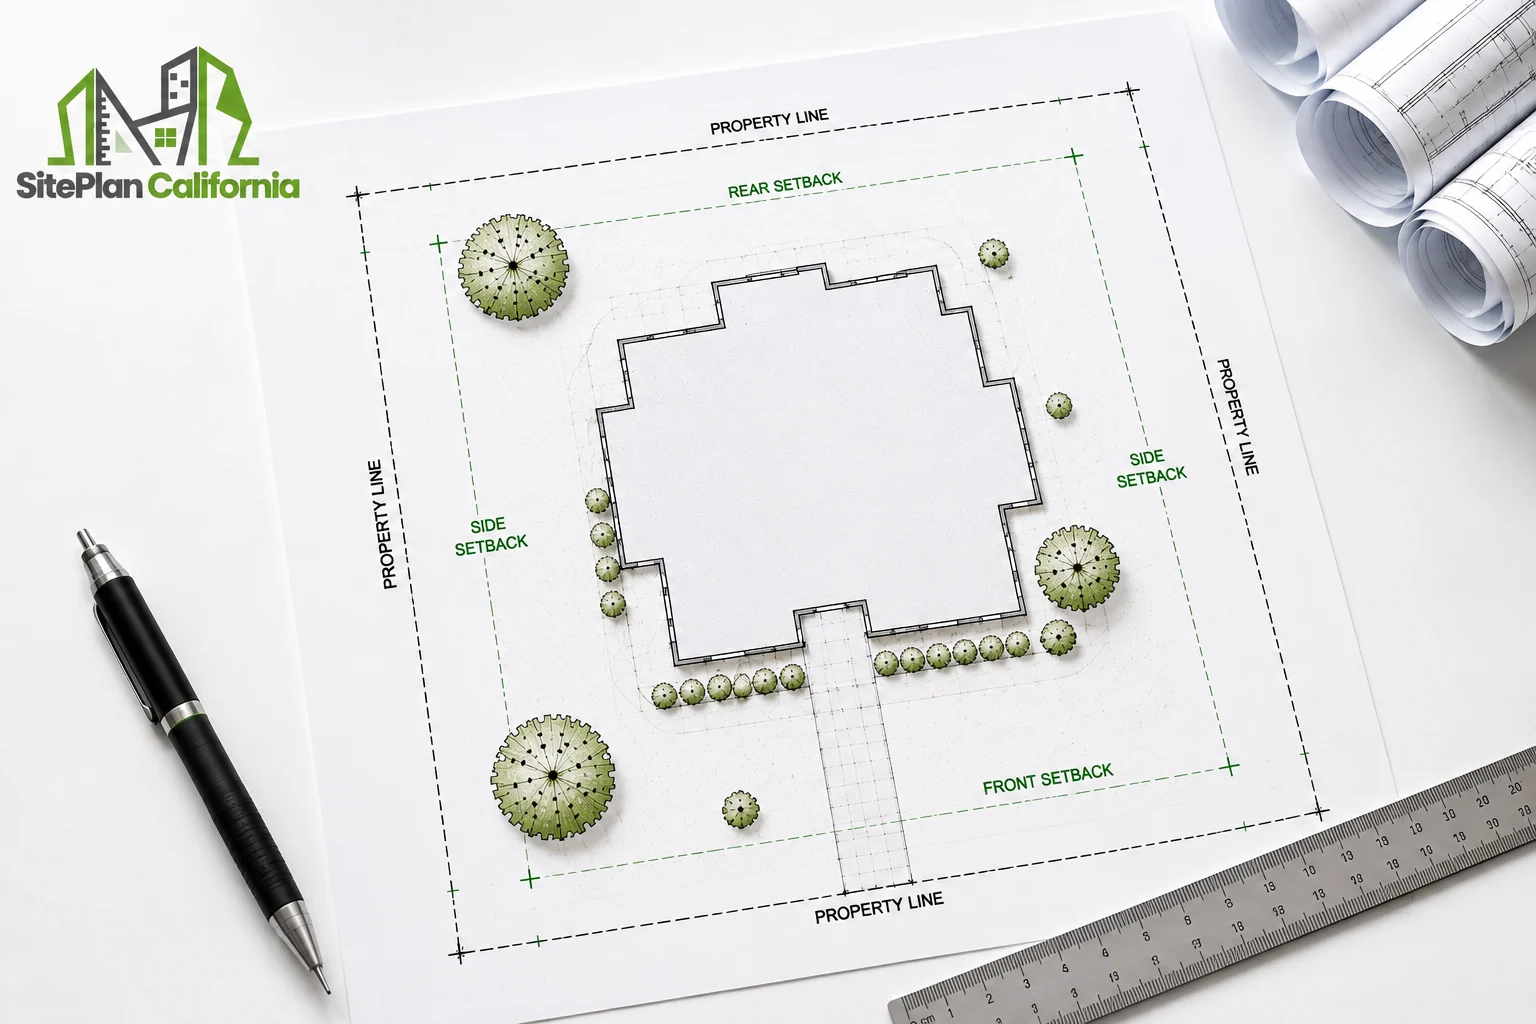
Start with the most dependable available property survey or previously approved plot plan. If you only have an assessor map, first ask whether the agency considers that sufficient for your particular task. Fences, satellite overlays, and public map lines may not show precise legal boundaries. Recording a width and depth from an uncertain image does not make the resulting plan accurate.
Collect the address/APN, lot dimensions, existing buildings, driveway, utility features, easements, and photos. If the proposed work is near a property line, ask a California-licensed surveyor about boundary verification. California’s BPELSG verification site is the official place to check land surveying and engineering licensure.
Document the source information on your draft: “Parcel geometry from [document, date]” is more transparent than an unexplained polygon.
Step 3: Choose a scale and drawing method
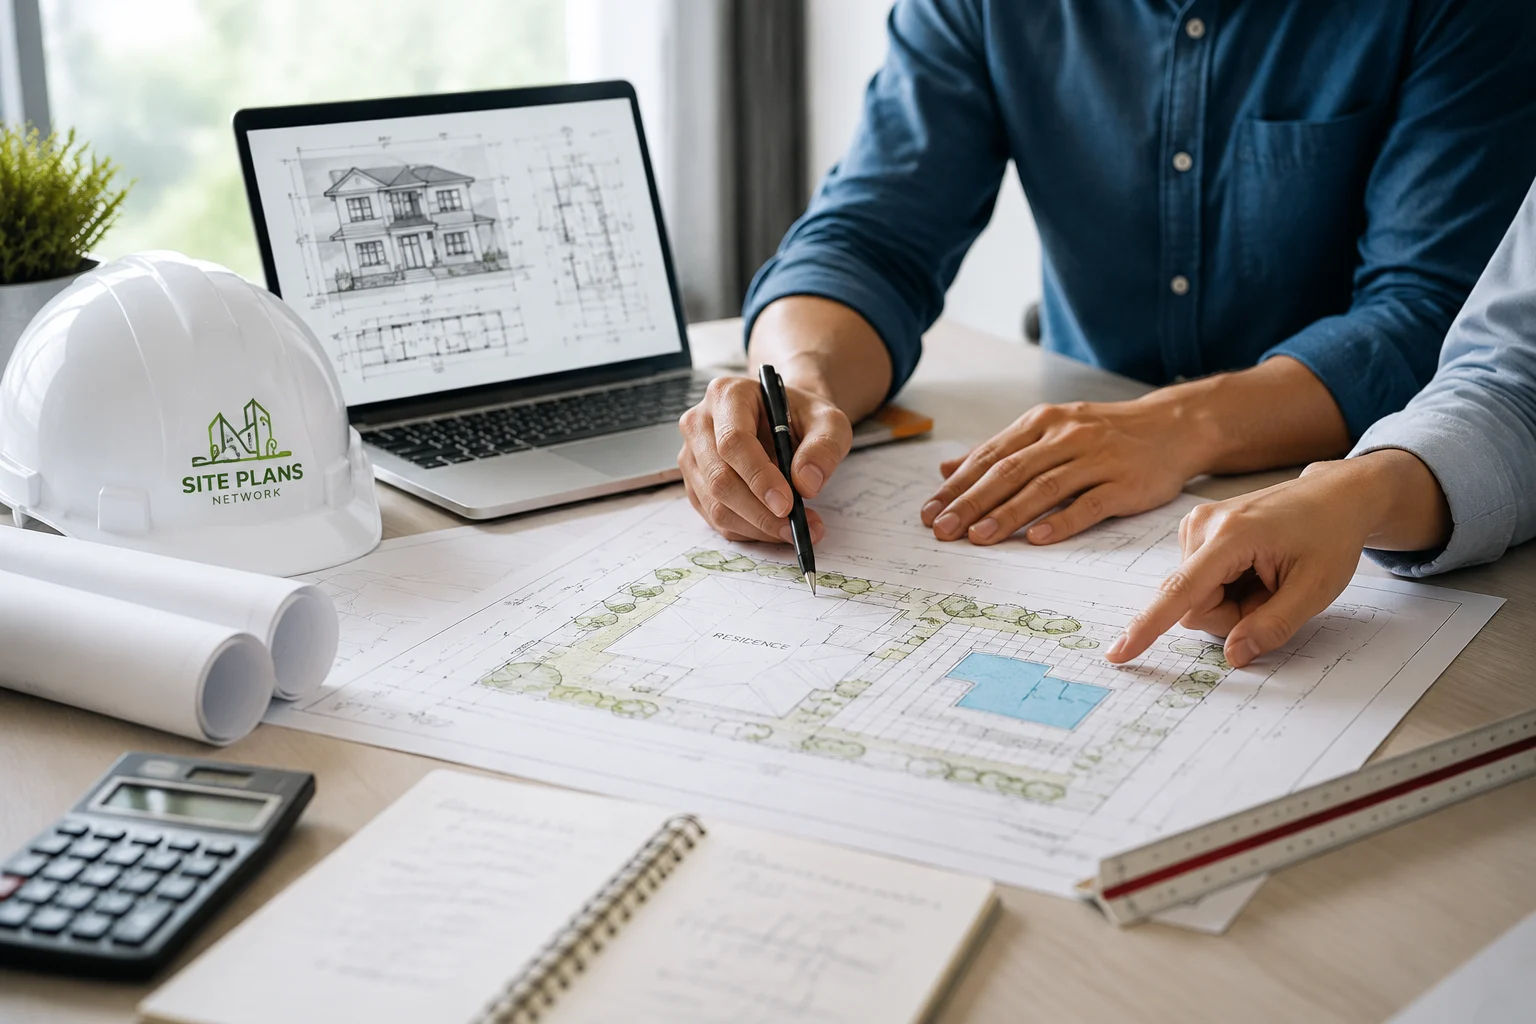
For a very small project, an agency may accept an accurately scaled hand drawing if its checklist allows it; other offices specify CAD-style PDF sheets. Use graph paper or drafting software with a consistent scale, and include a north arrow, scale note, legible dimensions, and a title identifying the address and project.
Do not print a screen image and write “to scale” unless you have actually verified the scale after printing. A PDF viewed at different zoom levels may not preserve a meaningful ruler measurement. Where an agency prescribes a scale such as 1/8 inch = 1 foot, draw and plot to the specified sheet size, and include a graphic scale for reference.
A clean line-weight hierarchy helps: property lines most visible, existing structures secondary, proposed work prominent, and dimension lines readable.
Step 4: Draw the existing site first
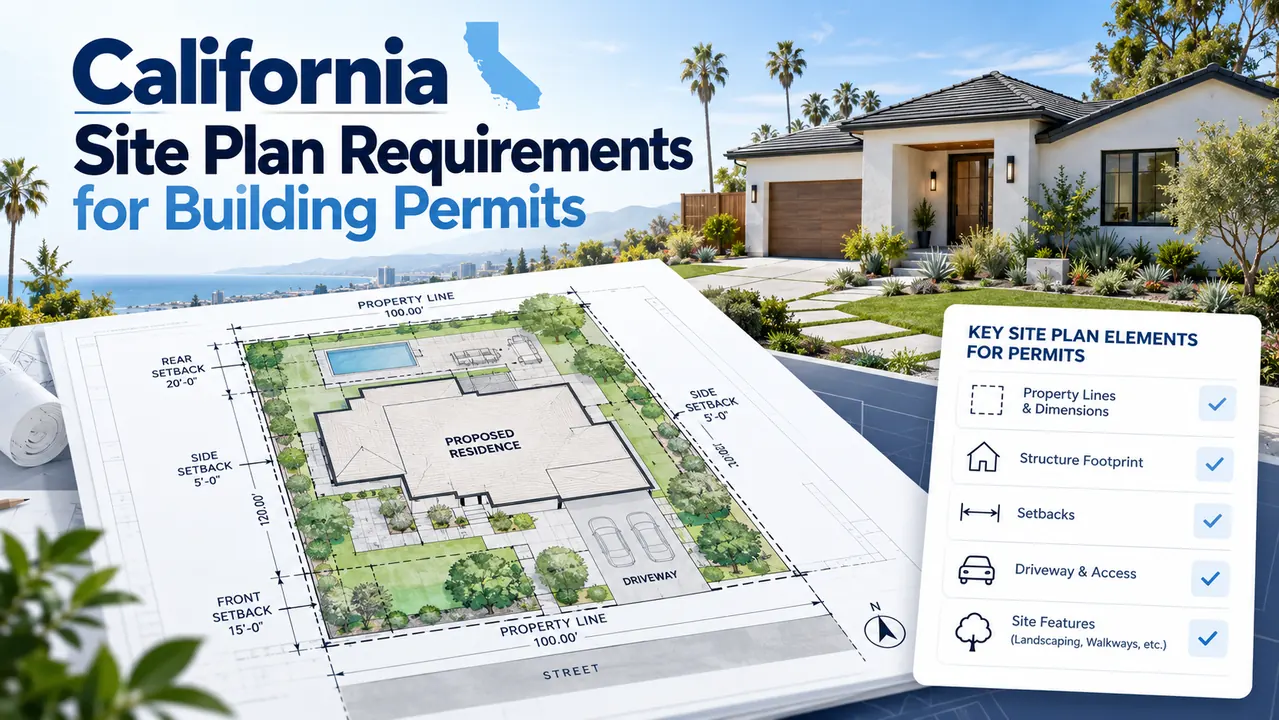
Show the parcel outline, street frontage and access, existing residence, garage, detached buildings, and relevant patios, driveways, and retaining walls. Mark features EXISTING. Add measured distances to property lines or other items required by the checklist. Include adjacent property or right-of-way information only where the agency requests it and where reliable data exists.
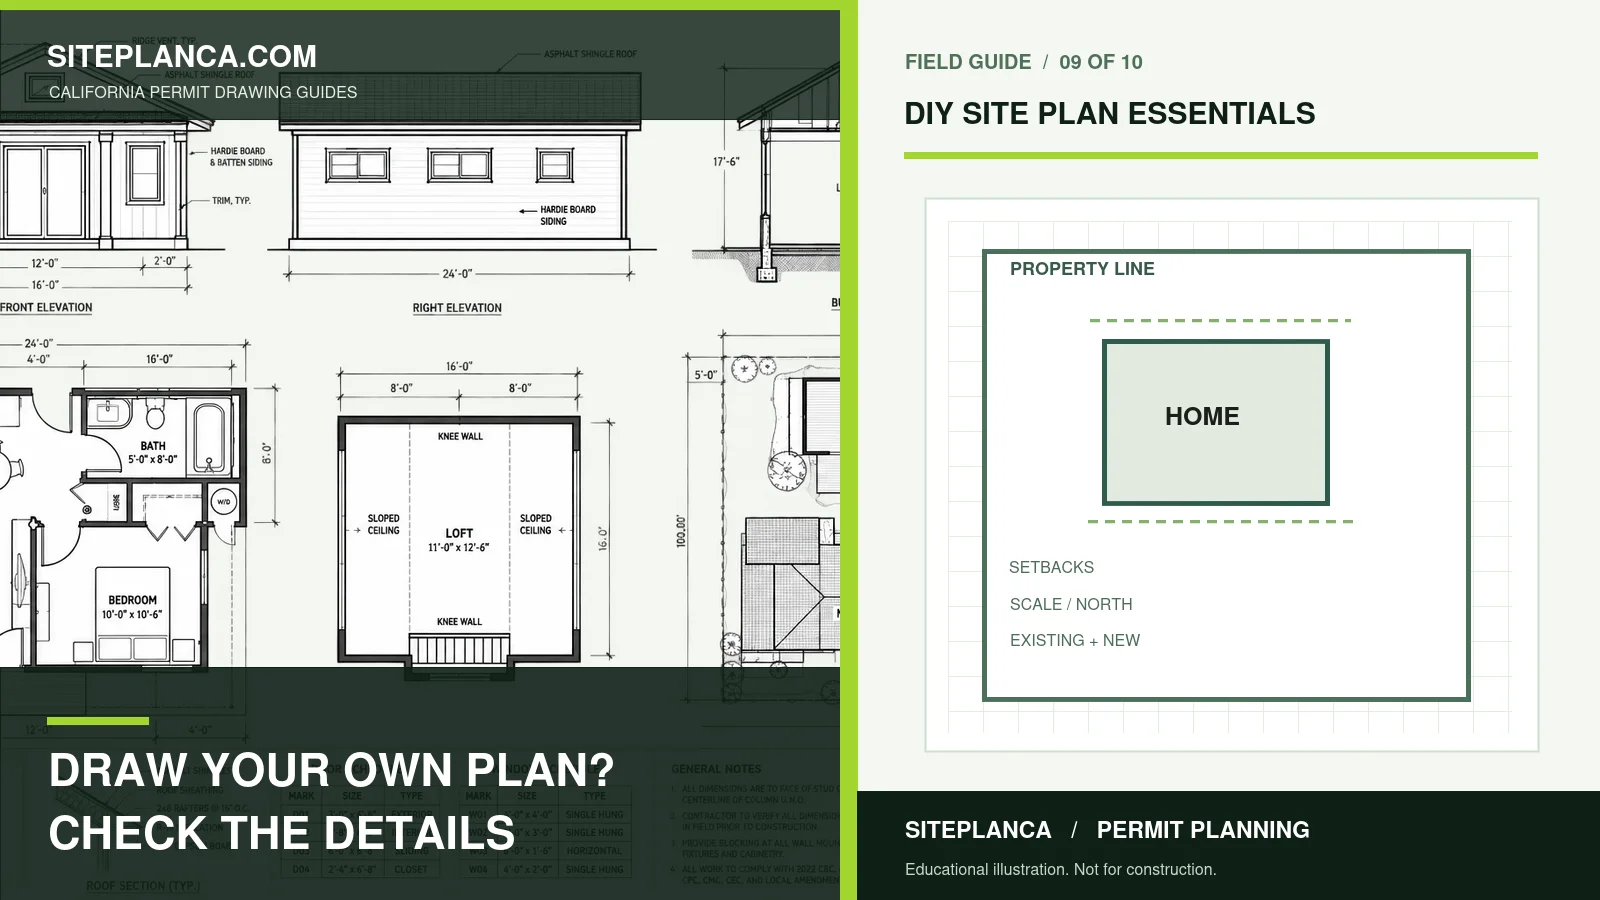
Do not assume a fence is the boundary or that the edge of the driveway matches the lot line. If you cannot verify an important dimension, label it as unresolved and get the necessary information before final submittal. Separating known information from assumptions is a sign of good drafting, not weakness.
Use the site’s true north orientation as required, rather than arbitrarily rotating the plan to look tidy without a labeled compass direction.
Step 5: Add proposed work with complete dimensions
Draw the proposed building’s outside footprint and label its intended use. Add length, width, distances to relevant property lines, and separation from existing structures. Mark any surface being removed and any access or utility alterations. If the project includes a garage, show driveway placement and relevant street conditions. If it includes a patio cover or addition, coordinate the new footprint with the existing house.
A helpful example is a 20 × 24-foot proposed detached garage: area 480 square feet. Your site plan should show where this 480-square-foot footprint sits and how it affects the site. Whether additional structural plans, grading, coverage calculations, or special access information are needed depends on the actual permit.
If your proposed footprint shifts during design, update every dimension and any coverage totals consistently.
Step 6: Confirm setbacks, coverage, and any easements
Look up the zoning district in the official municipal map, read applicable yard provisions and accessory-building rules, and determine whether the project qualifies for any special state-law standards. For parcels in Los Angeles, ZIMAS is the official zoning lookup. For other municipalities, find the equivalent planning site.
Calculate lot coverage using the actual jurisdiction’s definition. Do not assume uncovered concrete counts the same way as a roofed patio. San Mateo, for instance, includes specified open parking or loading areas in its legal definition of lot coverage, illustrating how local rules may surprise someone using a generic calculator.
Sources: San Mateo §27.04.285 and SitePlanCA lot coverage tool for preliminary arithmetic.
Step 7: Check the rest of the permit package
A DIY site plan can be correct yet still be an incomplete permit application. A detached garage may require foundation, framing, roof, connection, or electrical drawings. A house addition may need floor plans, elevations, structural calculations, and energy compliance documents. A sloped lot may require grading and drainage information prepared by an appropriately qualified professional.
The California Building Standards Commission lists the 2025 Title 24 code as effective January 1, 2026. Those building standards are separate from local land-use zoning and plan submission rules. Check both categories as part of the submittal.
Source: California Building Standards Commission — Codes.
Example: a DIY layout that needs more evidence
Suppose an owner sketches a 10 × 12-foot shed near the rear property fence. The sketch shows a neat 120-square-foot rectangle and a five-foot dimension to the fence. The parcel looks flat on aerial imagery. But the zoning office points out that the plot is a corner lot and a recorded utility easement crosses the proposed shed location.
The arithmetic and drawing cleanliness are not the problem. The sketch used the wrong measurement reference and omitted a legal constraint. The correction is to verify the actual rear/side yard classifications, confirm the boundary, locate the easement, and decide whether the proposed use can be placed elsewhere.
This hypothetical illustrates why local research is more important than choosing between a pen and CAD software.
When you should hire professional help
Consider professional support if the project needs a boundary survey, licensed civil/structural engineering, complex architecture, grading/drainage design, or a detailed site plan built from multiple records. If the city requests a professional seal, do not purchase a pre-stamped template: the responsible California-licensed professional must review the actual project and comply with their practice rules.
For a conventional drawing prepared from client-provided records, request transparent wording about what the drafter has and has not verified. A provider may supply a PDF and DWG drawing while excluding field surveys, calculations, permit submission, or professional certification unless separately agreed.
Compare the site plan vs. survey guide if you’re unsure which service is missing.
DIY quality-control checklist
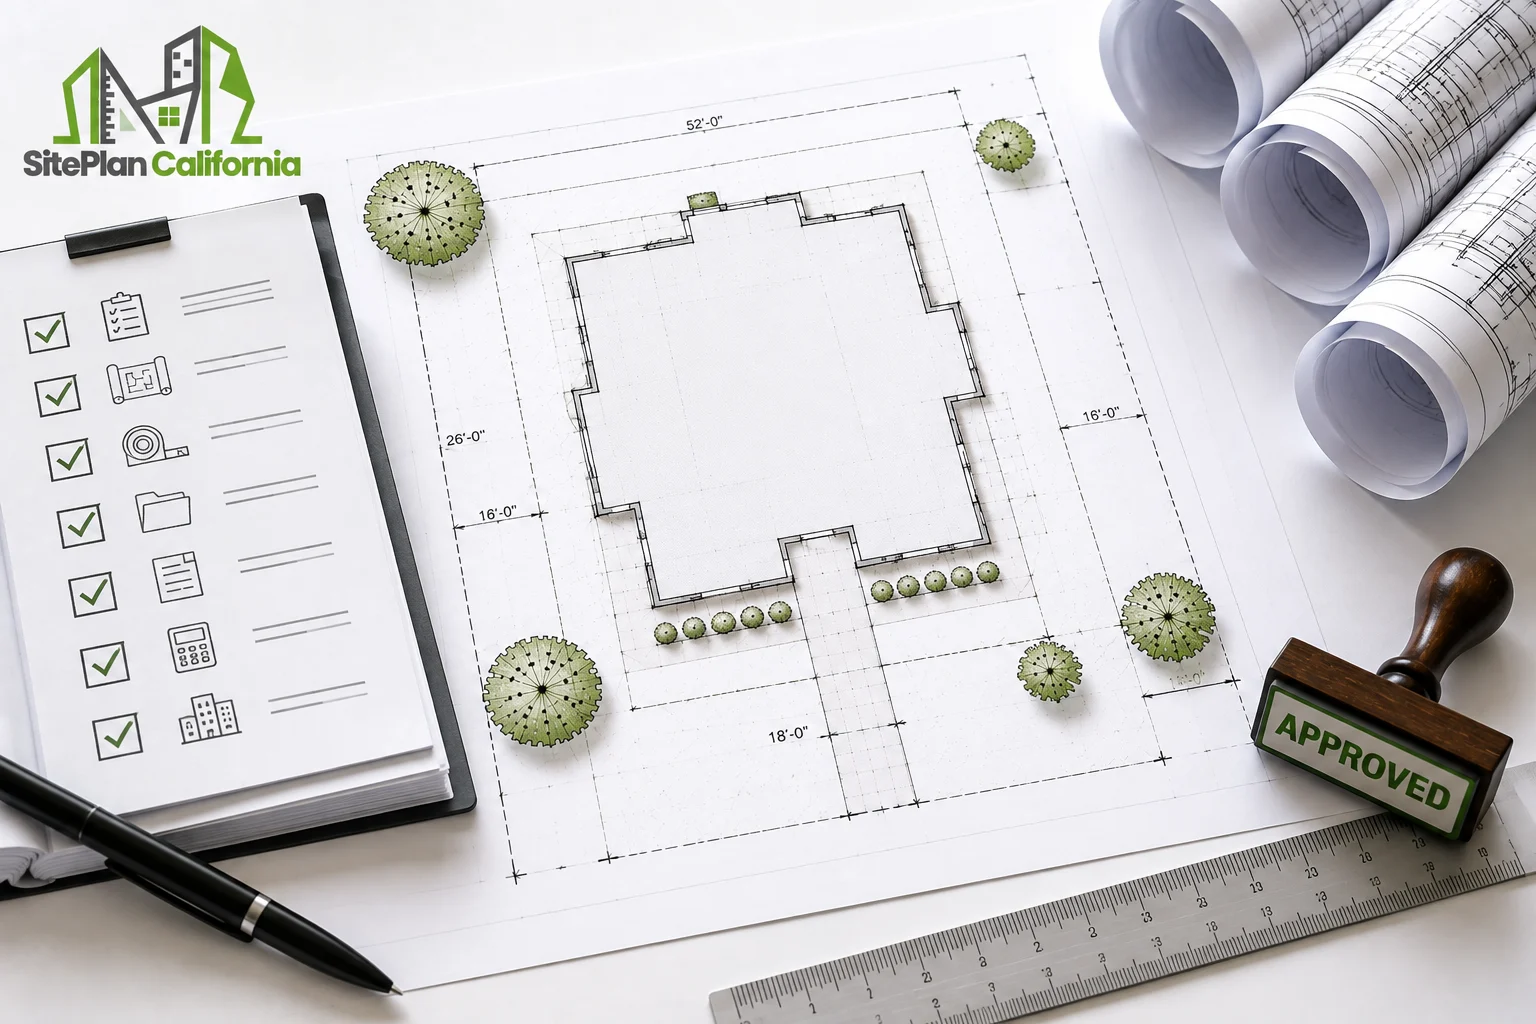
Before submitting, verify that the address, APN, proposed dimensions, scale, north arrow, labels, boundary source, setbacks, existing and proposed structures, and drawing date agree across your materials. Recalculate each area independently. Confirm utility and access conditions relevant to the proposal. Print or export the plan at the exact requested sheet size and check that the smallest labels can still be read.
Ask another person unfamiliar with the project to explain from the drawing what will be built and where. If they cannot distinguish the new work or interpret a critical dimension, the reviewer may face the same problem.
Keep the current agency checklist beside you and check off each required item rather than relying on a generic online example.
Frequently asked questions
Can I hand-draw a plot plan?
Possibly, if the authority having jurisdiction accepts that format for your specific work and it meets accuracy, scale, and content requirements.
Is a Google Earth image an acceptable site plan?
Use aerial imagery as a reference unless the agency explicitly accepts it in a specified format. Approximate boundaries are not automatically sufficient for permit setbacks.
Do all DIY plans require a survey?
No blanket rule applies. A survey may be necessary when the project or agency requires verified boundary information.
Can I show a proposed ADU on my own plan?
You can prepare a concept, but the permit package may require additional design services and must comply with applicable state and local rules. See the HCD ADU Handbook.
Can a professional clean up my existing sketch instead of starting over?
Often, a marked sketch is an efficient briefing tool. The designer still needs reliable dimensions and source records, and must correct rather than merely polish inaccurate information.
Use the DIY approach where it genuinely helps
Drawing the site yourself can be valuable for deciding what you want and organizing the information a professional needs. It is a poor substitute for boundary verification or licensed design where those are required. Save time by checking the local permit checklist first, then decide whether to continue yourself or commission the remaining work.
SitePlanCA can convert a well-labeled project sketch, survey, and agency comments into a coordinated site-plan drafting scope. Ask what is included, how measurements will be verified, and what additional plans or professional services your project needs.
Related: [How to get a site plan](/blog/how-to-get-site-plan-california/) · Permit site plan requirements · Survey comparison.
Official sources: CSLB Permit Guidance · SF Site Permit Requirements · CBSC Codes · BPELSG License Lookup.